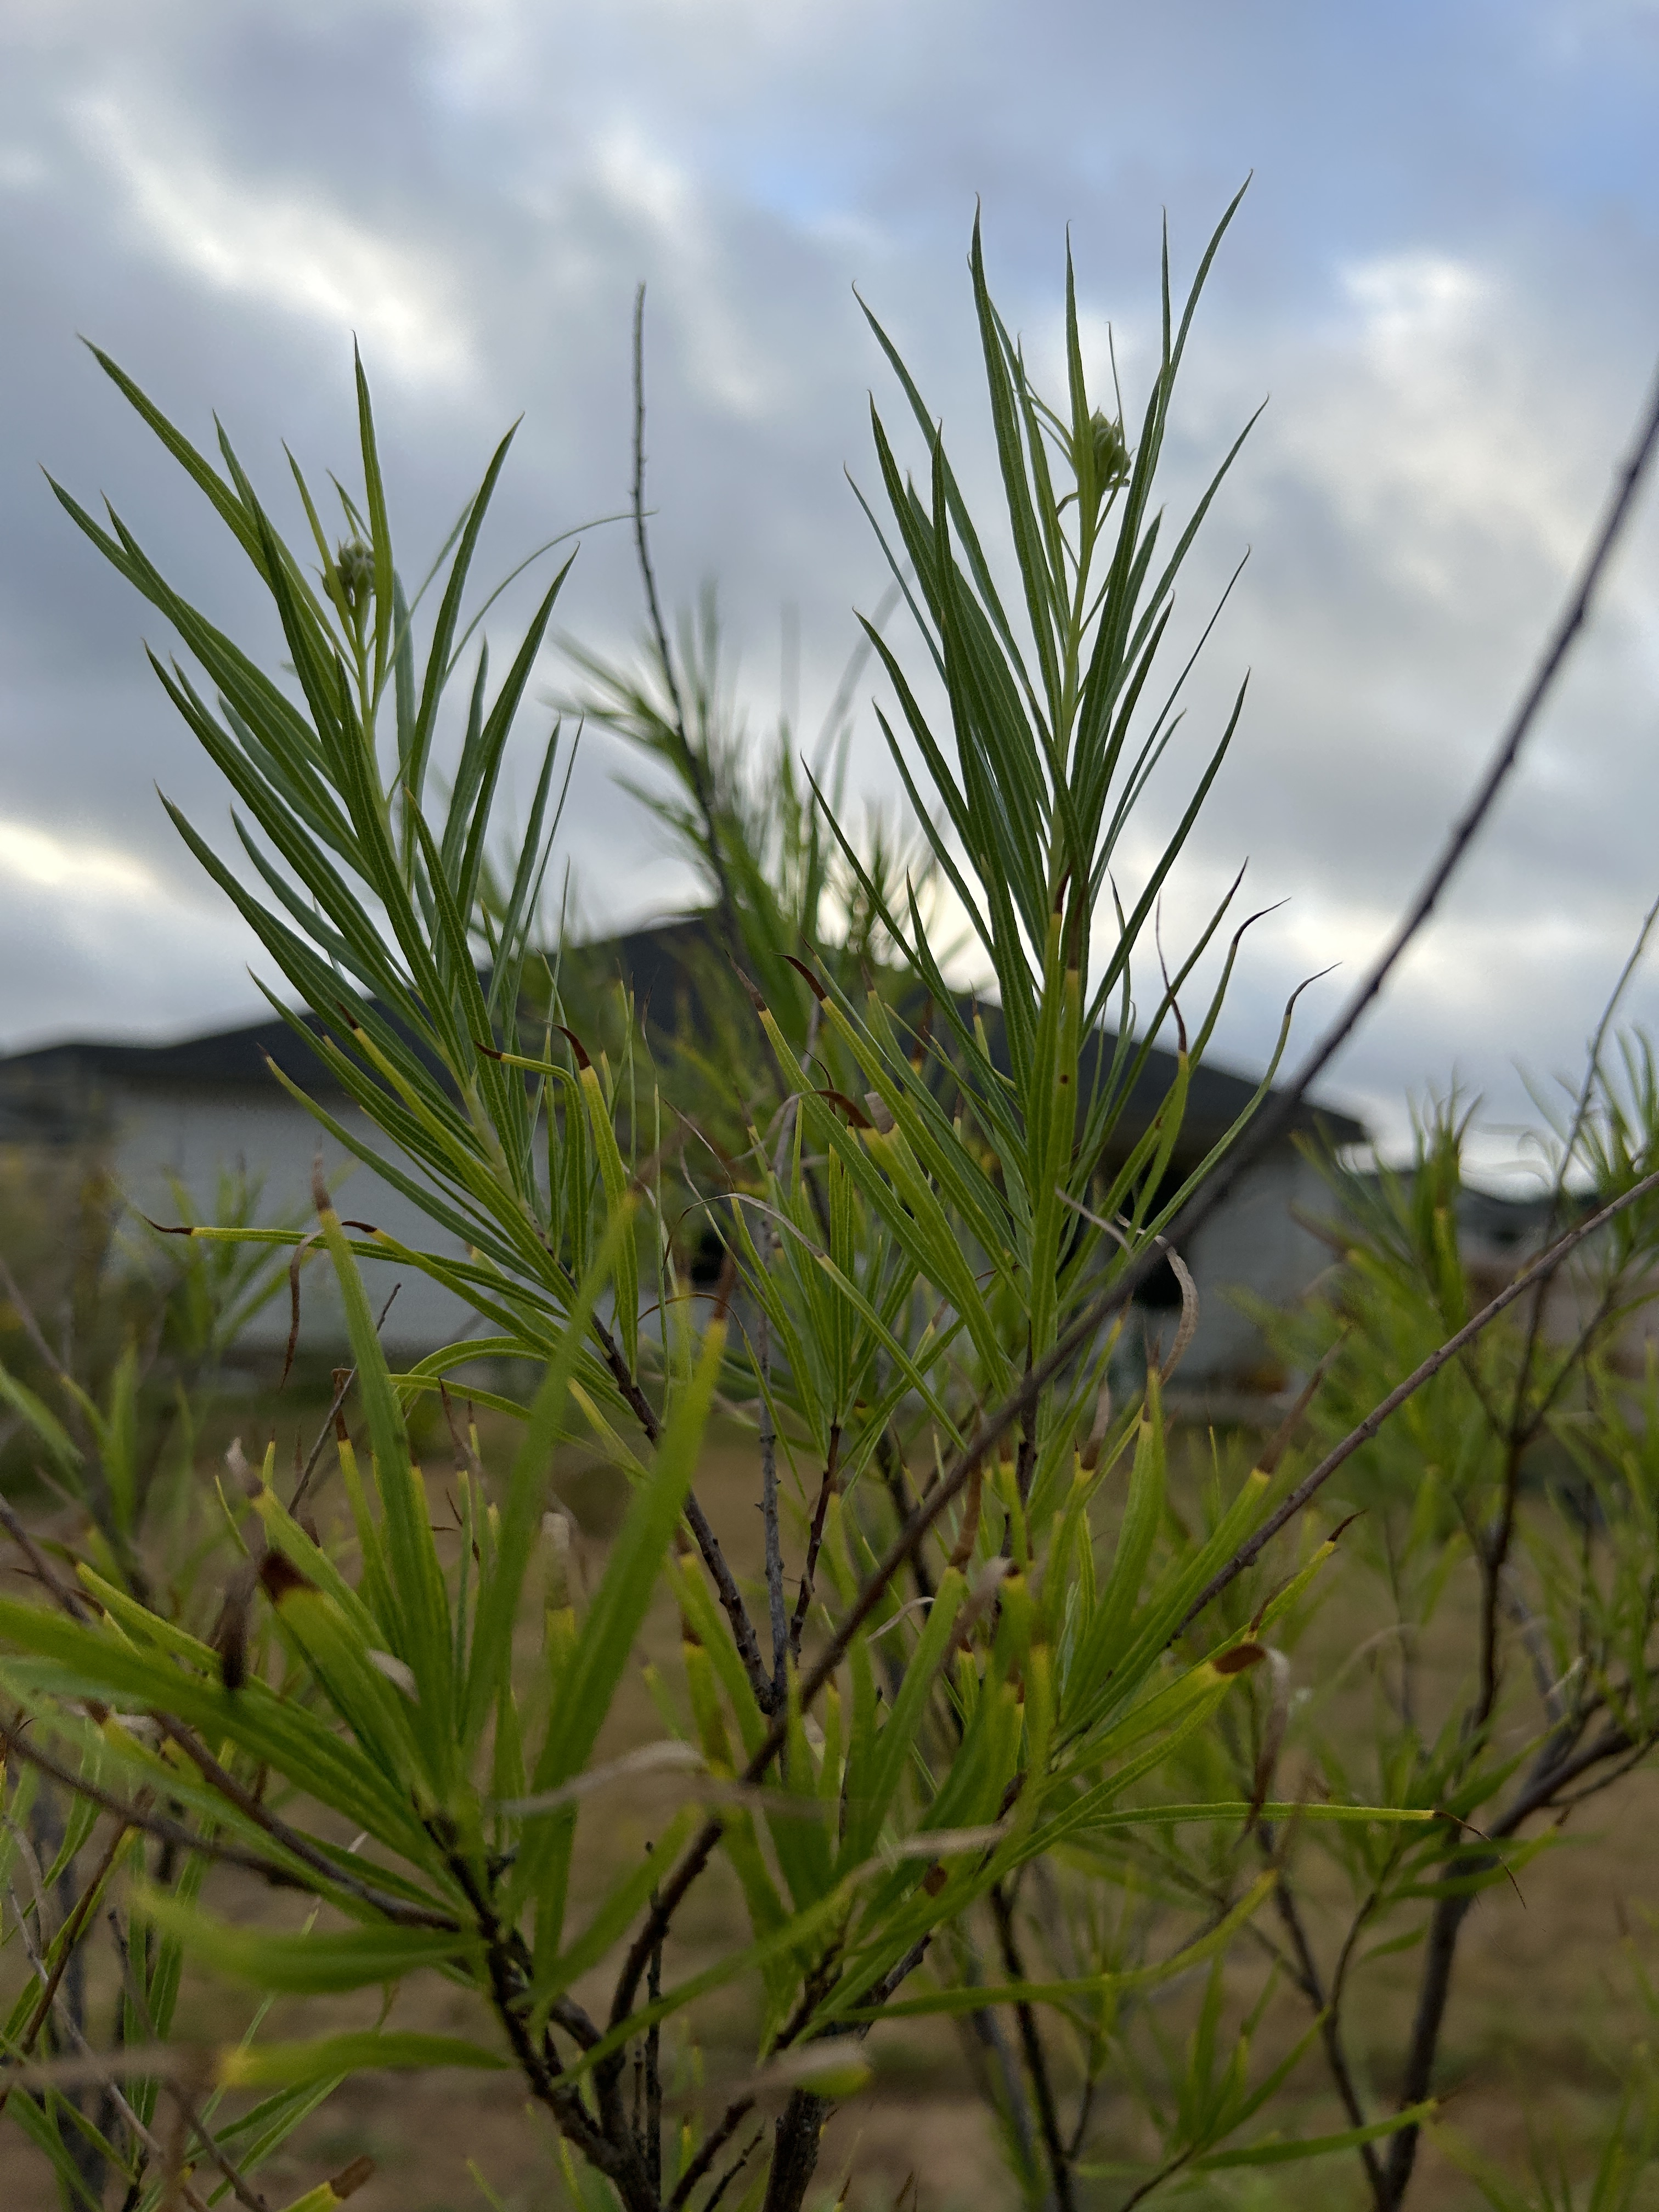
Bermudagrass sod was already installed in the front and back yards here when we arrived. The Bermudagrass in the front will stay, but the turf in the back needs to go to make way for native and adapted plants.
I used three different methods to remove (or kill in place) the Bermudagrass sod in the back, and it will be interesting to see if there are any long-term differences between those areas. Certainly there were short-term differences in terms of time, effort, and cost.
1. MANUAL REMOVAL. About a quarter of the total area was cleared first, by crouching down and tearing the sod up with my hands and small tools. This process took several weeks. The job was thorough, but it was still necessary to do several rounds of weeding to remove Bermudagrass that popped up later from roots left in the ground.

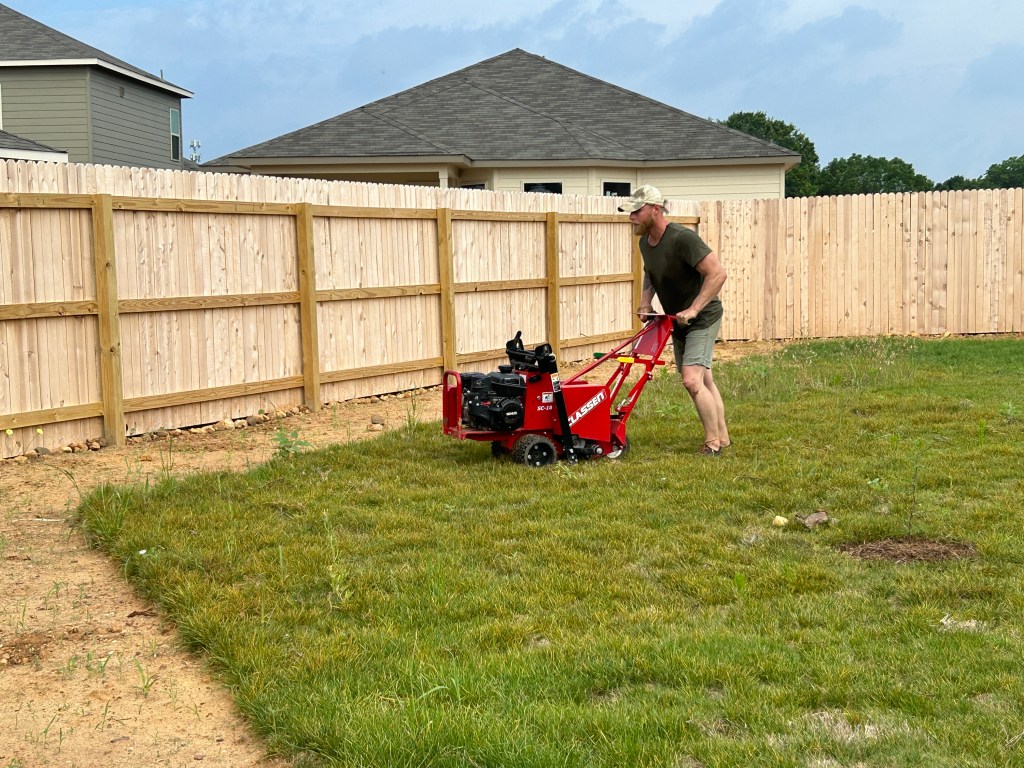
2. MACHINE REMOVAL. About another quarter of the area was cleared by a hired 3-man crew and a rented sod cutter (like this). Because the ground under the sod was so stony and uneven, the machine was hard to push, but nevertheless the crew got done in one day what would have taken me weeks on my own. Post-clearance weeding was also necessary with this method.
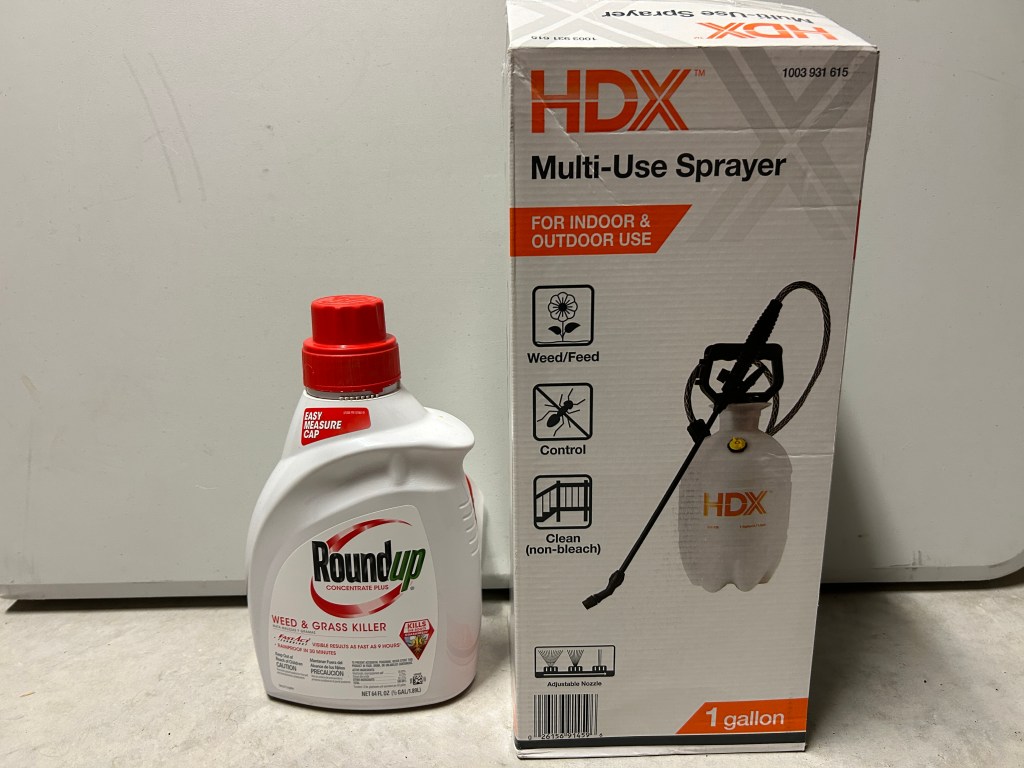
3. ROUNDUP TREATMENT. To remove the remaining area of Bermudagrass, I gave it two careful treatments of Roundup Weed & Grass Killer. I’ll write more about that in another post, but the decision wasn’t taken lightly since I prefer organic methods of gardening. This method was physically the least demanding, cheaper than hiring a work crew, and avoids the loss of soil. However, how effective it was compared to the mechanical methods remains to be seen.
4. There is a fourth method of Bermudagrass killing that I considered but did not use: SOLARIZATION. That’s where the area is covered with clear plastic weighed down at the edges and left in place for months.

Leave a reply to “State Of The Garden” After 15 Months – Rewilding My Lot Cancel reply